There are several steps to making your own bionic finger: you have to gather the components, put it together, and code it.
Parts, Prices and Replacements
The parts you'll need for this project are:
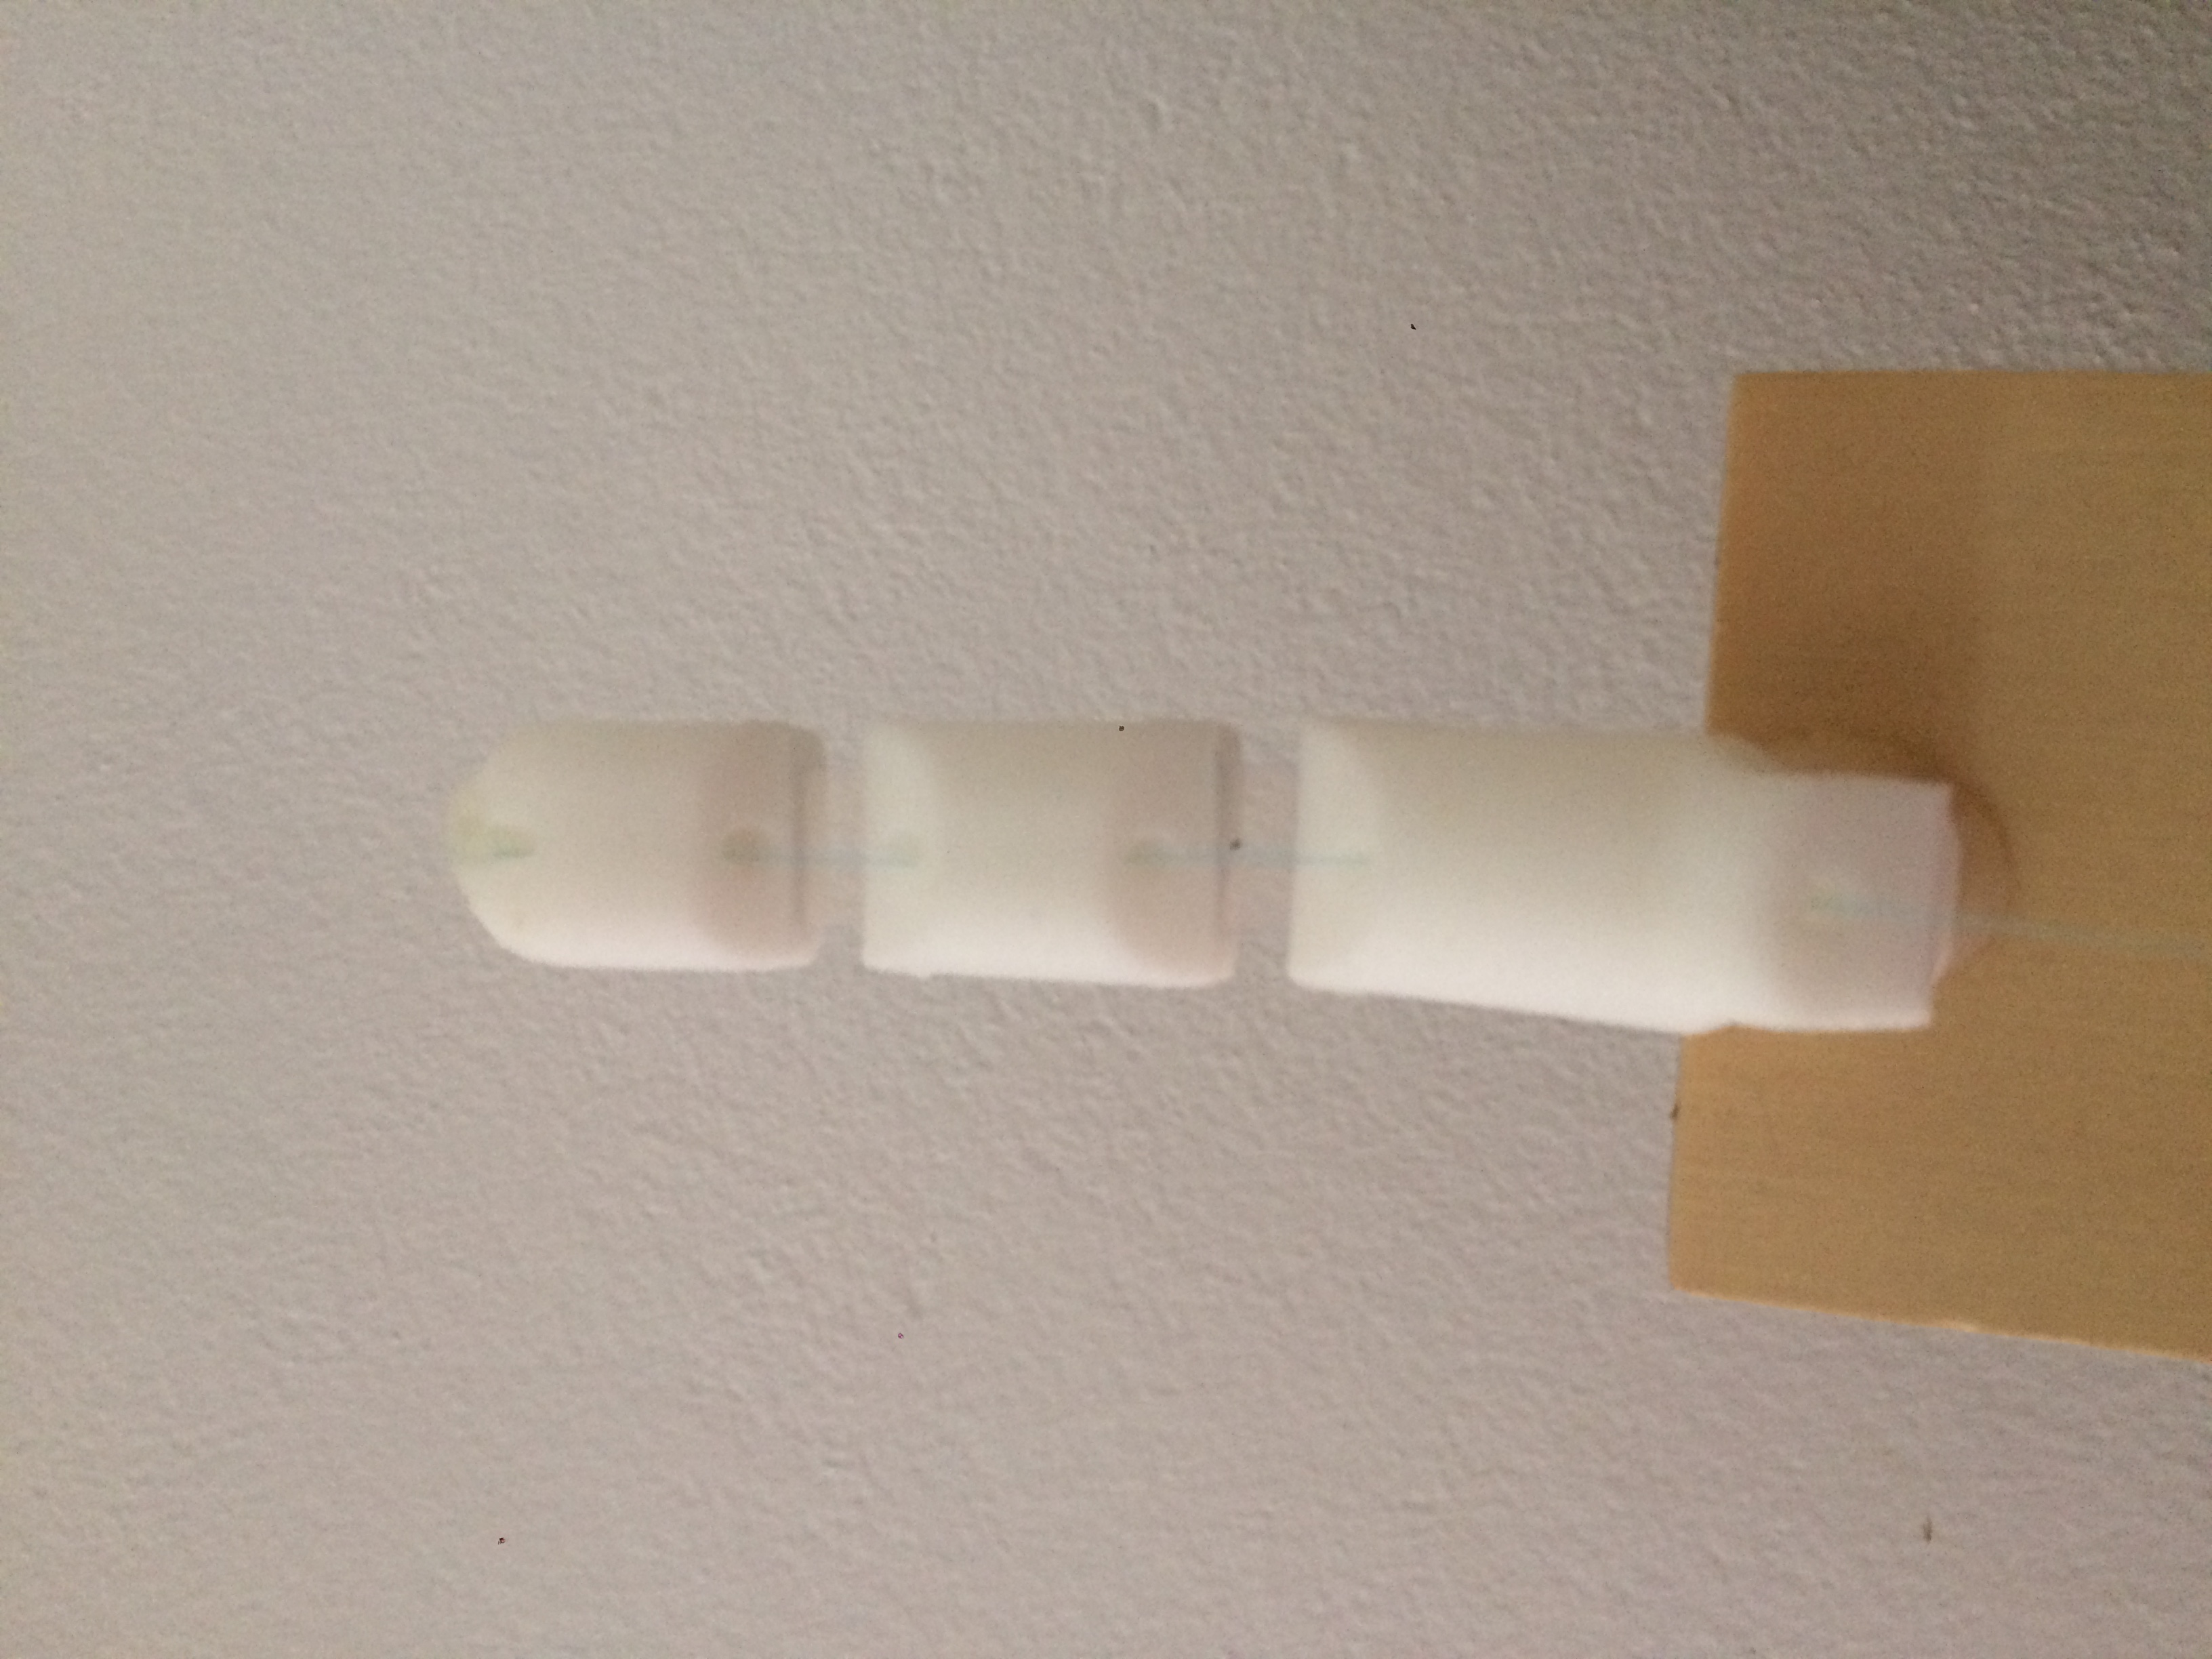
1. A 3D printed finger or a straw finger like this one . You can find instructions here. The finger is what we will be moving with the motor.
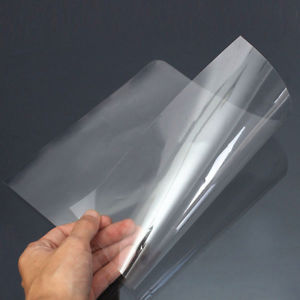
2. A sheet of transparent overhead plastic which is only needed to put your hand together if you're using a 3D printed finger. You can get a pack of 20 at Officeworks for $32.28.
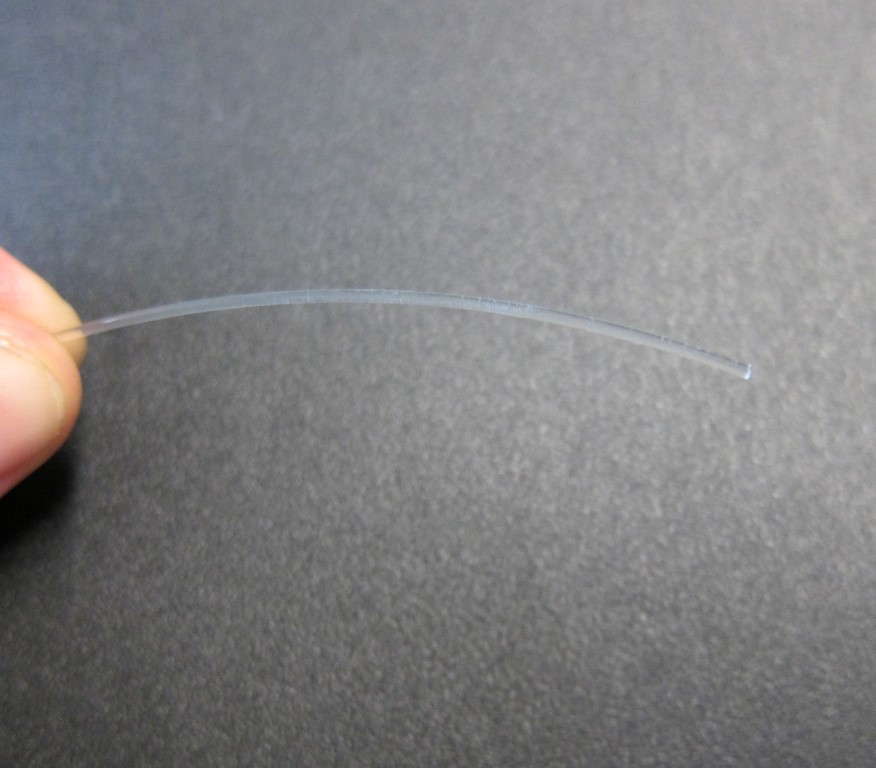
3. Fisherman's wire (only needed if you're using a 3D printed finger, otherwise, follow instructions in link.) This will be needed to keep the 3D printed finger in shape so that it resembles a human finger. This part can be replaced by some other type of thin string.
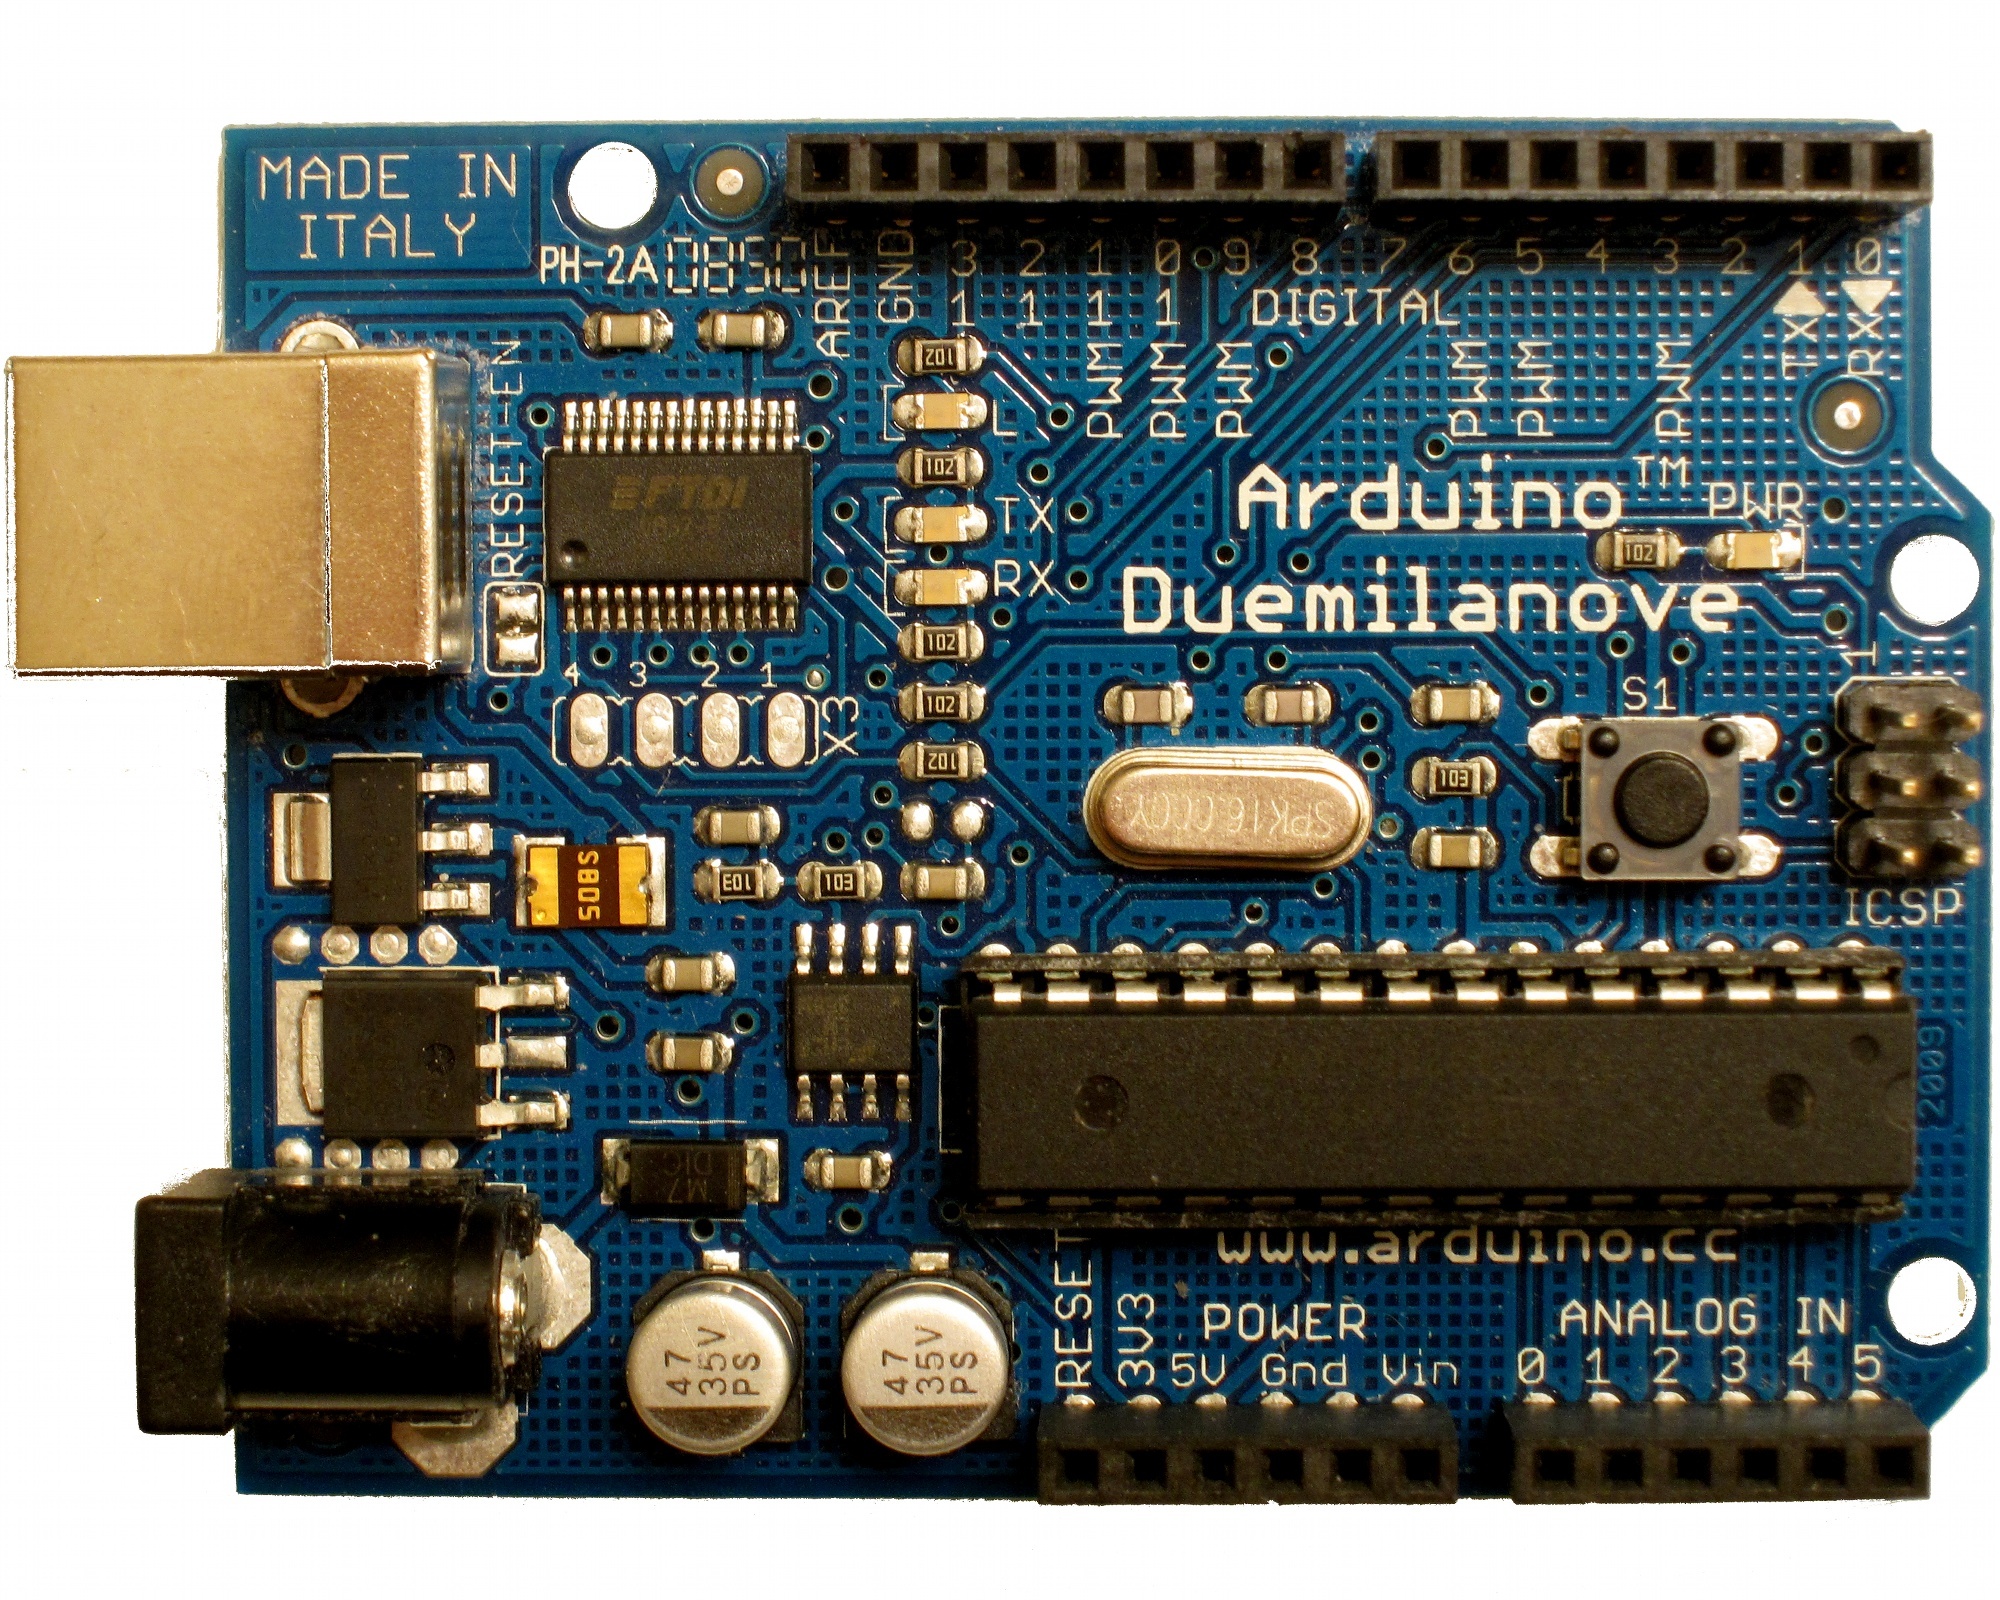
4. Arduino board and laptop/computer to code on. You can use the Arduino Nano 2.X found at Aus Electronics Direct for $18.65 or you can use the Arduino Duemilanove which comes with a USB cable found at Deal Extreme for $11.87. A ThinkerShield is optional which can be found at the Museum of Applied Arts and Scienced for $22, which is recommended for beginners and allows you to do other projects. The Arduino board is what stores the code after you disconnect your USB cable, and it communicates the code to all the needed parts. This part cannot be replaced.
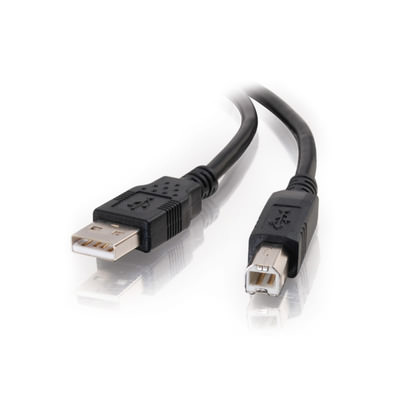
5. A USB cable in order to transmit the code/information from the computer/laptop to the Arduino board. This part cannot be replaced unless you are using bluetooth.
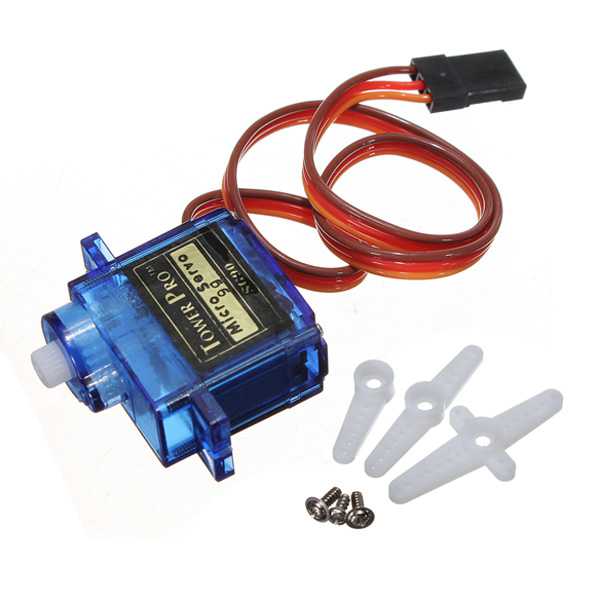
6. A SG90 microservo which can be found at Aus Electronics Direct for $5.95. The microservo is the motor which will pull the string to make the finger curl up. It may be replaced with some other suitable motor.
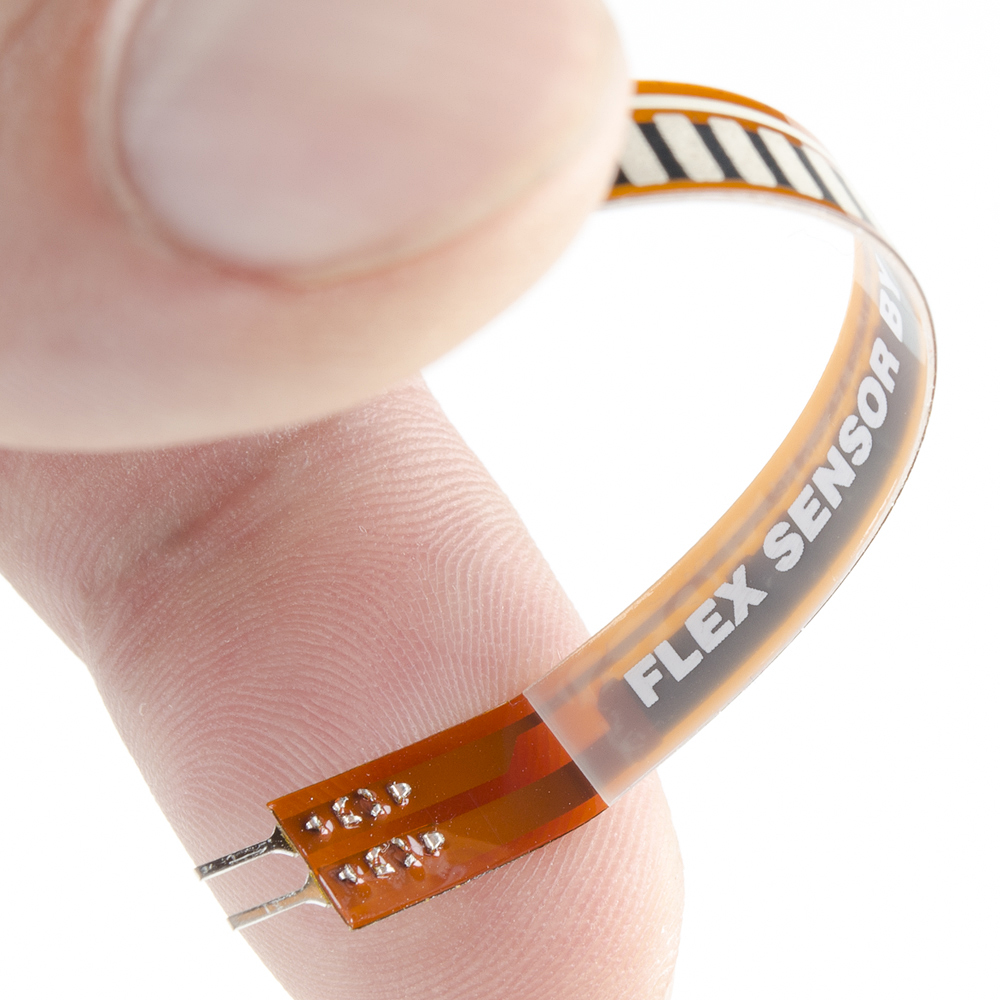
7. A 2.2" Flex Sensor which can be found at Core Electronics for $12.28. This part cannot be replaced as it senses how far your finger has moved and provides the Arduino board with a value which can then get changed so the finger can move correspondingly.
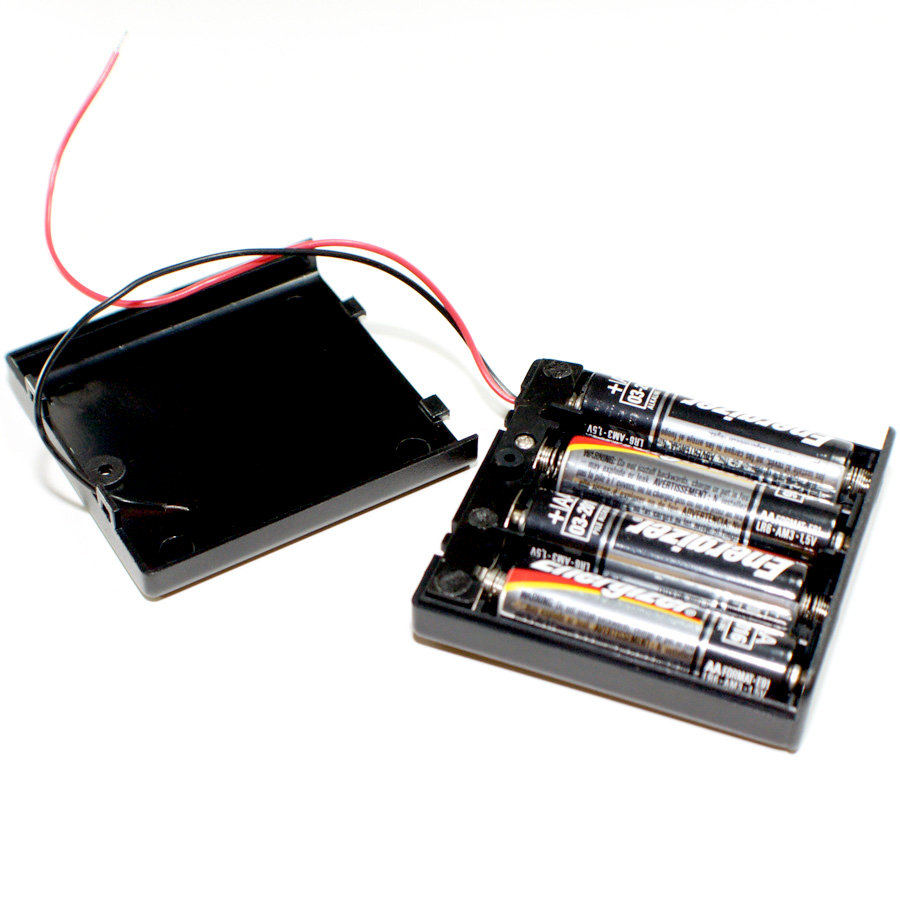
8. Batteries and a case for them are essential because once you transfer the code from the laptop and disconnect it, the Arduino board has no power. Having batteries would make it much more mobile. The case can be found at Aus Electronics Direct for $1.65 and the batteries can be found at a range of places including Officeworks which has a variety of pack sizes, brands and prices.
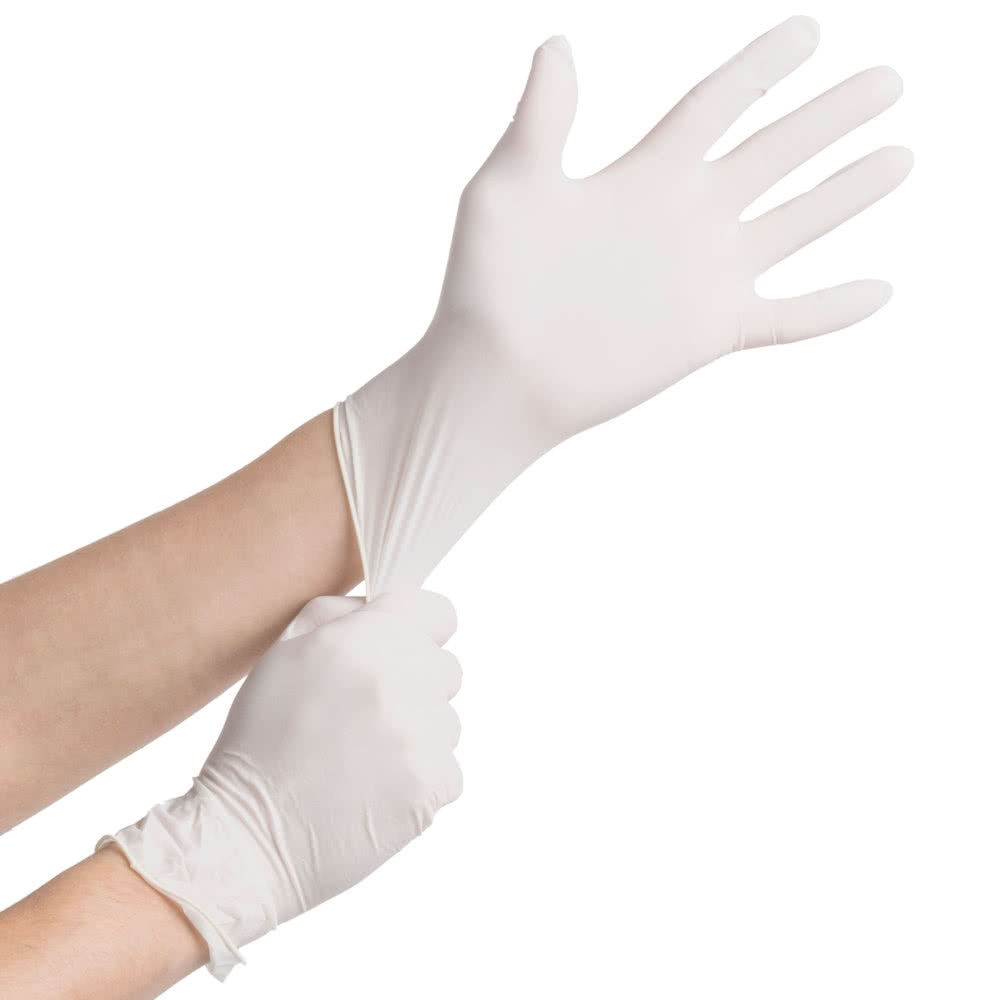
9. A glove to attach the flex sensor to, so that it closely mimics the movements of your finger. You can get cheap latex gloves at places like Woolworths and Coles.
10. A wooden board or any sturdy, hard surface which will be used to put all the components on so the wires don't get mixed up and the microservo is in a fixed position to the finger.
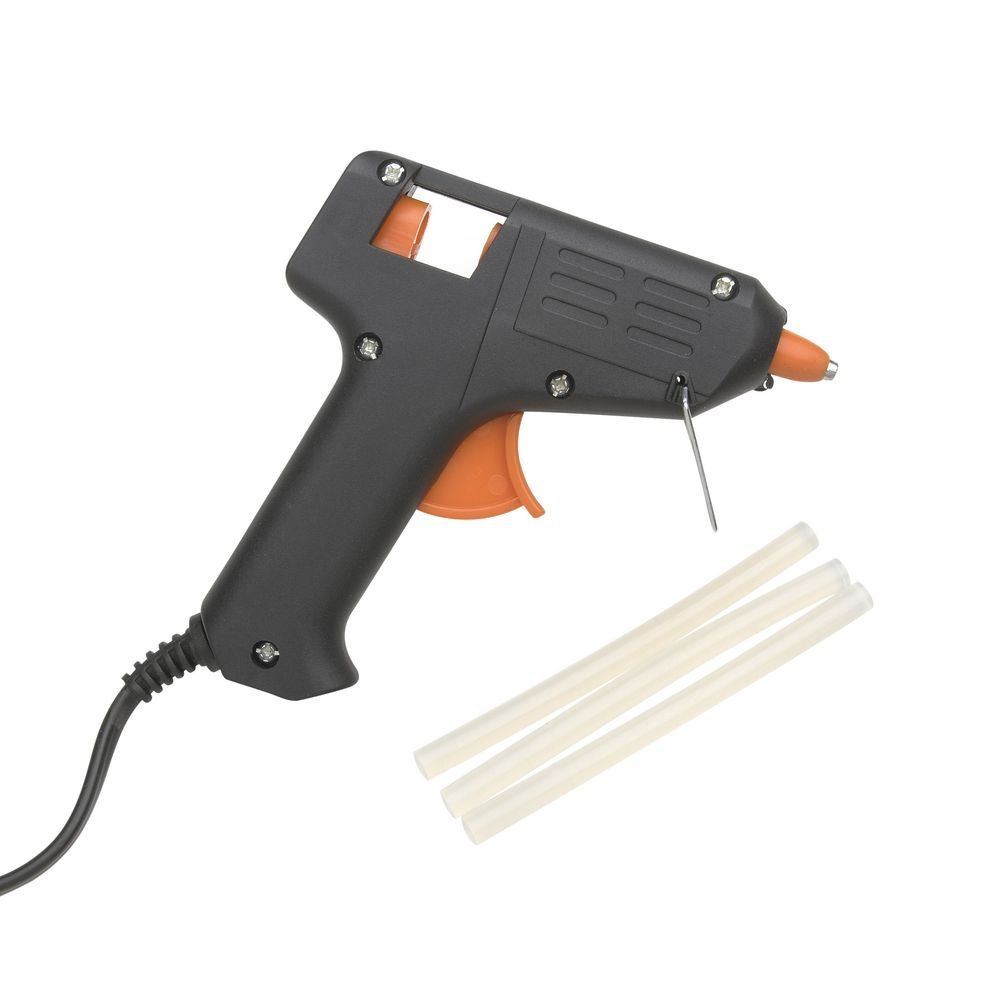
11. Finally, you will need a hot glue gun to be able to put all the components together. You can find this at Bunnings Warehouse for $9.98. This part can be replaced with regular craft/PVA glue but using this method will take far longer.
Here's a visual list of all the things you'll need:
How To Assemble
1. Cut out strips of the overhead plastic and double it up so that it fits comfortably between the gaps in the 3D printed finger. Use hot glue to secure it. Make sure the length is that of a normal finger. You can skip to step 3 if you're using a straw finger.
2. Use the nylon/fisherman's wire and thread it through the holes in the center of the finger. Secure the wire to the tip of the finger with hot glue.
3. Tie the other end of the wire to the furthest hole in the microservo. Secure with hot glue if needed.
4. Attach the wires from the microservo to the digital pins in your Arduino board. The number will change depending on the the number of the pin in your code, but make sure they are the same. The brown wire has to attach to G, the red wire has to attach to V, and the yellow wire has to attach to S, if you're using the nanoboard.
5. Attach the wires from the flex sensor to the analog pins in your Arduino board. Again, the number will change depending on the the number of the pin in your code, but make sure they are the same. It doesn't matter which colour of wire is connected to which, but they have to be attached to G and S.
6. Use the USB cord to connect your board to your laptop. Code will be provided in the next section as well as an explanation.
7. Attach the finger to the edge of the wooden board using a hot glue gun. Once that has set, place the microservo on the board so that it gets rid of as much slack as possible, but still allows the finger to return to a straight position. Secure the microservo on the wooden board.
8. After you have coded and calibrated, use a hot glue gun to attach the flex sensor to the glove.
9. Prepare the batteries and attach it to the Arduino board.
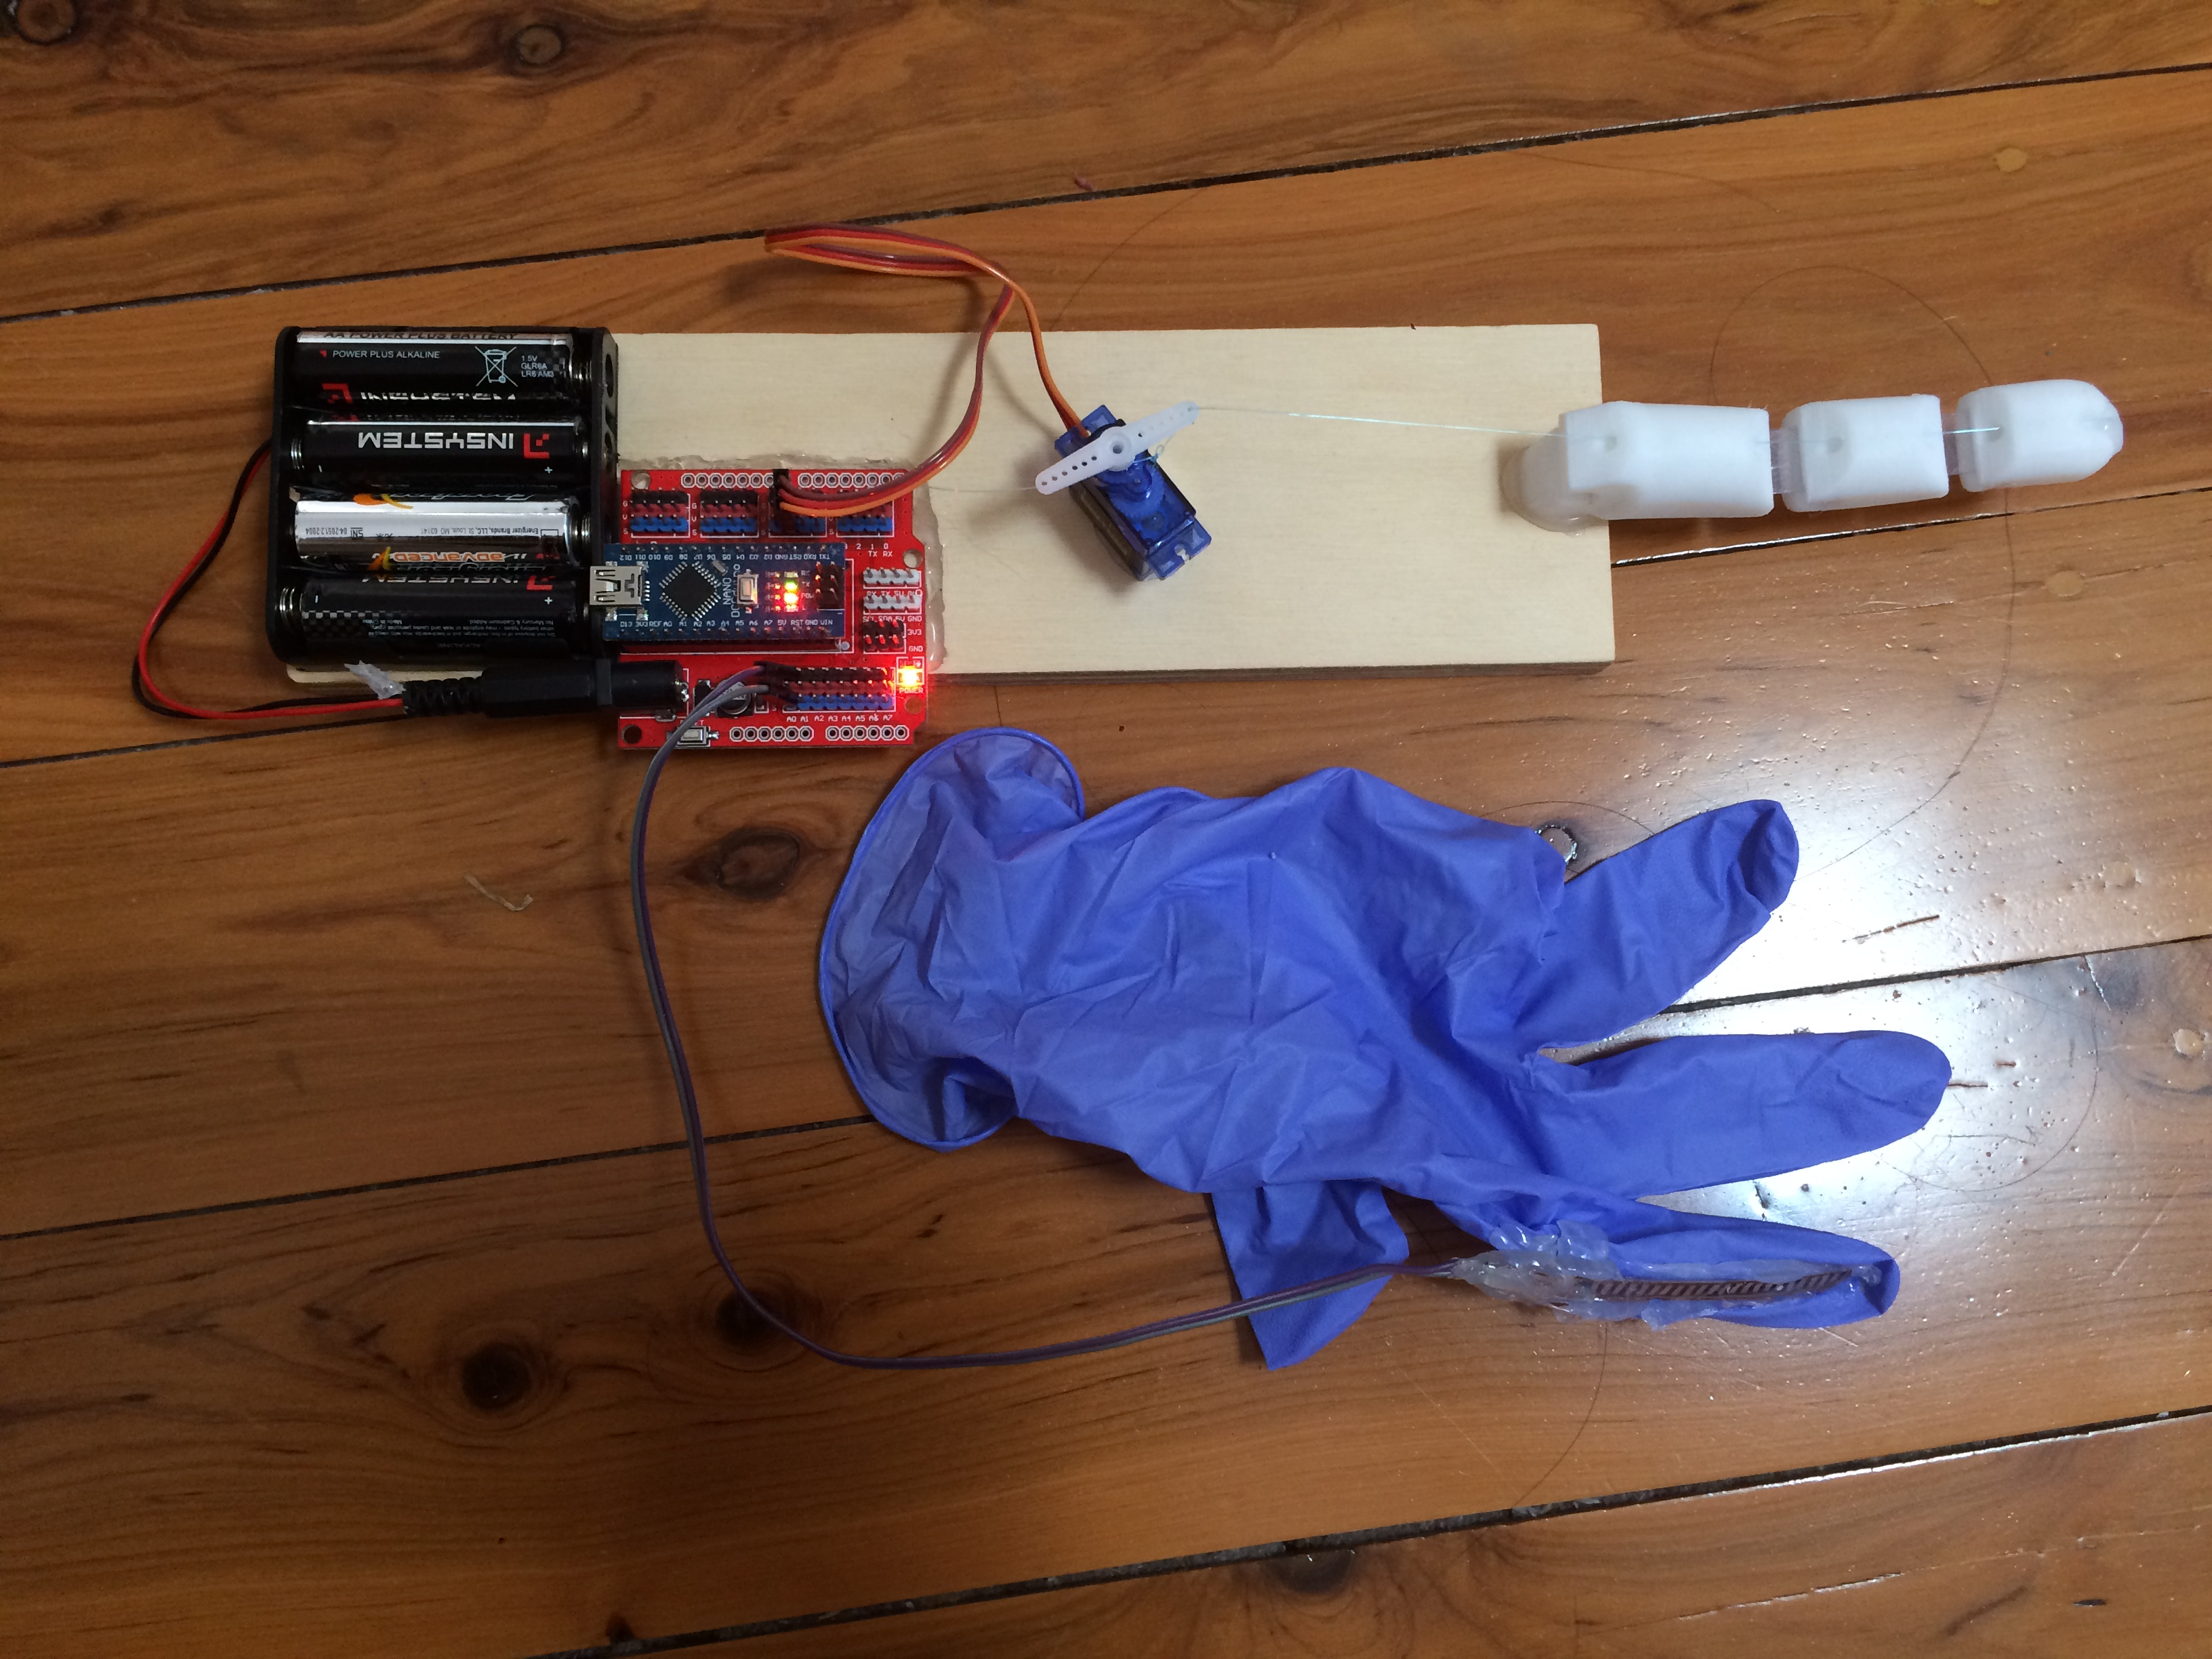
10. Once you are happy that the flex sensor is properly calibrated, attach the rest of your compenents (apart from the glove) to your wooden board. The final result should look something like this:
The Code+Explanation
The code you will be using is this:
//Include Servo library
#include
Servo myservo; // create servo object to control a servo
void setup() {
myservo.attach(6); // attaches the servo on pin 6 to the servo object
/*Values from sensor are about 380 -> 550;
we need to convert this to about 0 -> 170
since my finger is too short to be affected
when the servo moves 180 degrees*/
int angle = (flexSensor - 380) / 1;
 . You can find instructions here. The finger is what we will be moving with the motor.